Reverse Hot Foil Sentiments Featuring Casual Greetings Hot Foil Plate
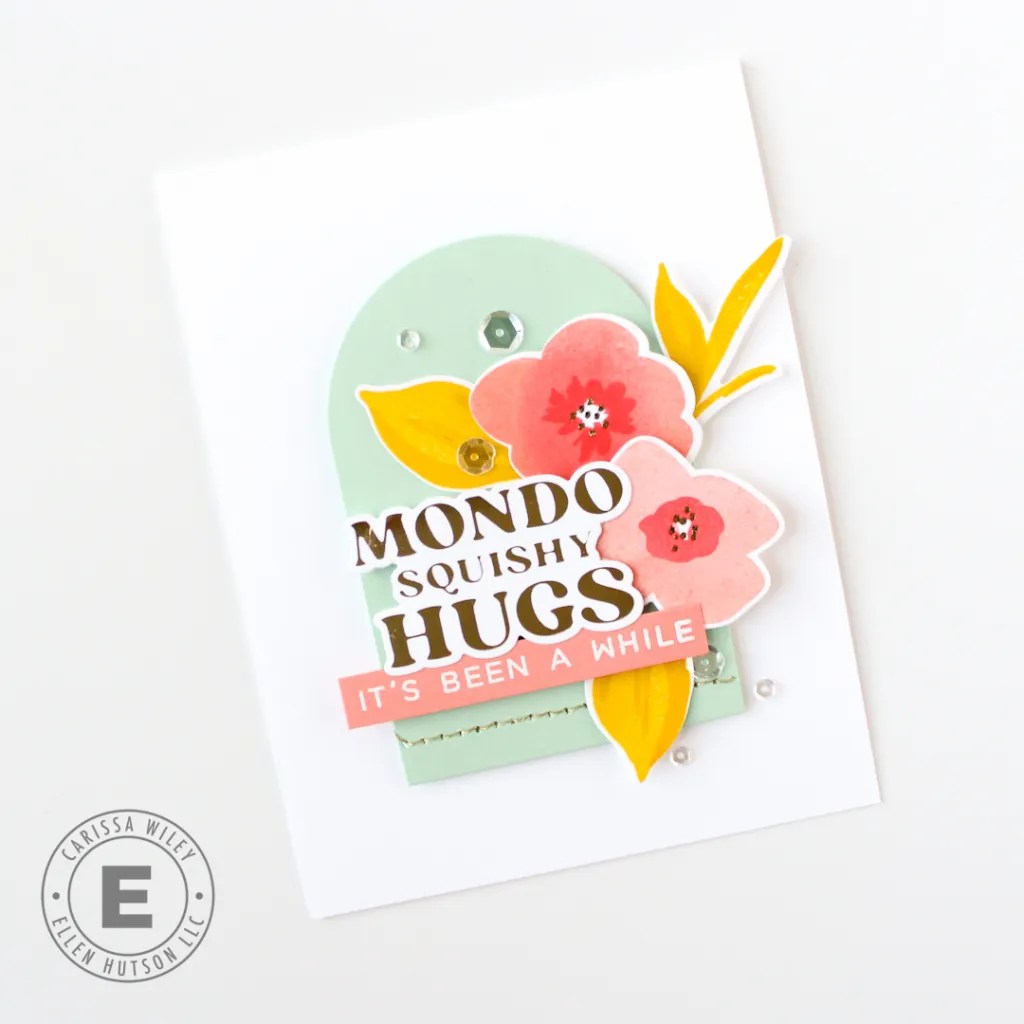
Today I’m sharing how to create reverse hot foil sentiments using the new Essentials By Ellen Casual Greetings Hot Foil Stamp and the Pinkfresh Studio Solid Hot Foil Plate. This technique allows you to get a new look from your hot foil plates.
Hi everyone! It’s Carissa Wiley with you here today. I’m excited to share this reverse hot foiling technique with you today. The results are absolutely beautiful!
To achieve the reverse hot foil stamping, you’ll need a solid hot foil plate. I am using the one from Pinkfresh Studio. I’ll show you how to use it in today’s video. I’ll be using it with the Gemini FoilPress system, but keep in mind, you can also use it with the Spellbinders Glimmer system as well.
I will also be sharing some tips for hot foil stamping with the one piece Casual Greetings Hot Foil Stamp from the Essentials By Ellen line.
Be sure to check out today’s video, where I’m sharing all the tips and tricks you need to know!
Thanks for stopping by today. I hope you were inspired by today’s projects. Until next time, I hope you have a fabulous day!
Thanks for great hot foiling tutorial! I am having good luck with foiling but the solid hot foil plate is still not working so well. Great tips to try. Like all three cards, but the “Thanks and Stuff” one is my favorite.
[…] had a reverse foiled sentiment (like the sentiments grouped on the left). Carissa recently gave a great tutorial on using the solid foil plate in this post. It’s really a […]


4 Comments
Thanks for great hot foiling tutorial! I am having good luck with foiling but the solid hot foil plate is still not working so well. Great tips to try. Like all three cards, but the “Thanks and Stuff” one is my favorite.
Great tips in your tutorial – thank you!
gorgeous!
[…] had a reverse foiled sentiment (like the sentiments grouped on the left). Carissa recently gave a great tutorial on using the solid foil plate in this post. It’s really a […]