
Do you love clean and colorful cards using paper strips? Are you looking for ways to stretch your supplies? You’re in luck! Tiffany has an adorable card to share and some quick tips along the way!
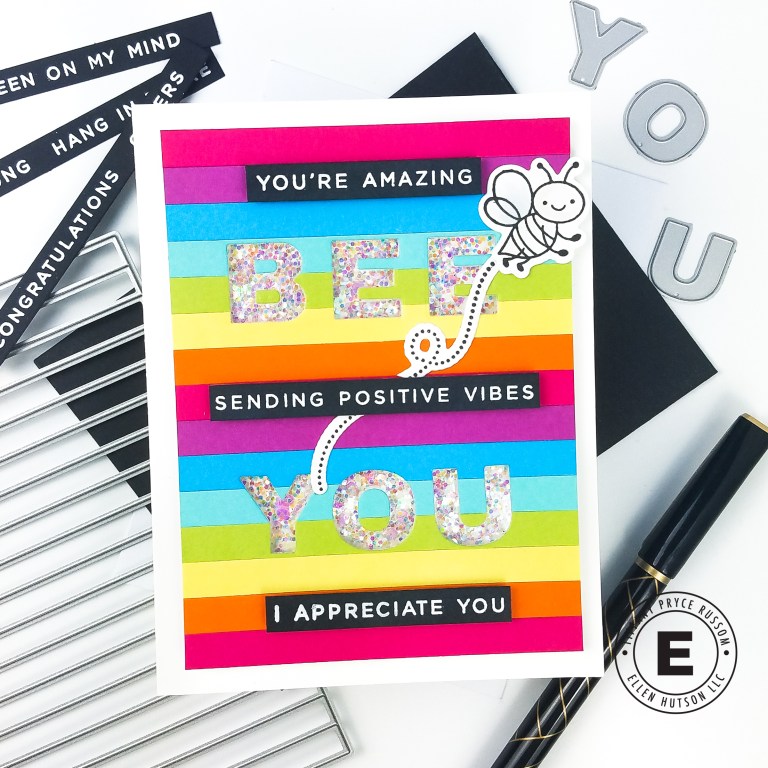
Hey crafty friends! Tiffany here with a fun, colorful card celebrating Pride Month! To me, Pride is many things. One of which is a celebration of authenticity and self-love. I wanted to make an uplifting card for a friend to remind them that they are the bee’s knees, and I appreciate them so very much!
One of my favorite products from the newest release is the Sentiment Strips Die. Not only is it perfect for die cutting multiple sentiments at once, but you can also use it to create the perfect paper strips. I love products that can be used for multiple purposes. To start my card, I die cut the Sentiment Strips Die from 7 different colors of cardstock. I used various cardstock from my stash, but most was from Concord & 9th or Hero Arts. The die cuts eighteen ~4 inch strips so there are plenty of strips to mass produce several cards or to use as sentiment strips in the future. I keep my extra strips in the amazing, sturdy plastic sleeve Ellen Hutson products are packaged in.

Next, I used liquid glue to adhere the strips in rainbow order on a scrap piece of copy paper. If you want the strips perfectly horizontal, take care placing the first strip down. Make sure each subsequent strip is adhered snug to the strip preceding. I do not take as much care to align the right and left sides because I always use my paper trimmer to ensure the entire panel is even.
After adhering the paper strips and trimming to about a 3.75 x 5 inch panel, I aligned letters from the Classic Block Alpha die set to create my custom sentiment. It was easy to line up the alpha dies due to the paper strips.

With the main sentiment die cut, I started to build my shaker. I adhered acetate with double sided scor-tape, and added foam tape behind the panel to create shaker walls. For the shaker bits, I used iridescent glitter from my stash, but the Iridescent Mini Star Confetti is a perfect substitute to get the same look. Since the glitter was flat, I only had to use one layer of foam tape. If your shaker bits are more dimensional, I suggest two layers of foam tape for the shaker walls.

To embellish my card front, I stamped and die cut a couple images from One in a Buzz-illion. Since the card was so colorful, I left the bee black and white. I added slight shading with a W0 copic marker to the wings and glitter brush marker for a little more sparkle. I cut the dotted “fly trail” in half for it to appear longer than it was. I hid the ends behind the sentiment. I also added three sub sentiments from the Positive Vibes Stamp Set. I had so many sentiments already heat embossed and die cut so they were easy to pull out and add with foam tape. I suggest stamping and die cutting several versions of the Positive Vibes Stamp Set at once. I usually create a black and white version and a gold heat embossed on white cardstock version as I tend to use these combos most often.

Hope you enjoyed this clean and colorful card and were able to pick up some tips along the way. I’ll be back soon with more inspiration. Thanks for stopping by!


No Comments