
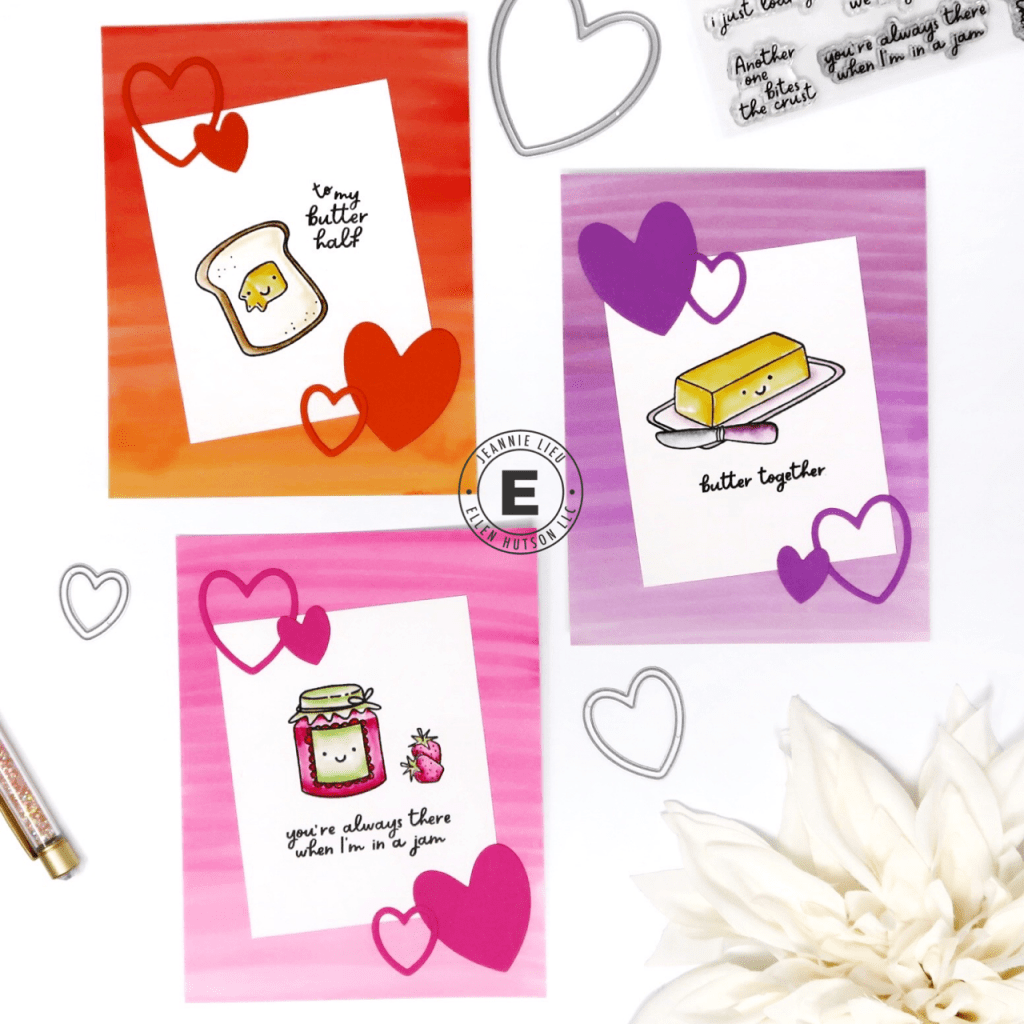
Hi crafty friends! It’s Jeannie here and today, I wanted to share some quick and easy Valentine’s day cards or cards to let someone know you’re thinking of them! Quick and easy is not normally my style but when it’s last minute, it’s the only type that will work! I created three cards in only FOUR steps, assembly line style, and they turned out so cute!


STEP 1:
I’m new to the Sketchmarker’s Aqua Watercolor Markers but I thought trying them out here would test if they were easy to use for quick cards. Guess what? They are! In fact, they were the only markers I used for this project. I chose three markers that would create a nice ombre look and scribbled each markers side to side down my panel on about a third of the panel until I filled up my entire panel. Using a flat watercolor brush, I wet it with water, and used it from left to right until the colors blended together. This made for three really quick background card panels.
Colors Used
1st Card: Dark Pink, Pink, Soft Pink
2nd Card: Eggplant, Violet, Ash Lavender
3rd Card: Red, Orange Red, Honey

TIP: Paper is important. I prefer Bristol Smooth with these markers but you can also use watercolor paper as well.
STEP 2:
I trimmed down my Bristol Smooth cardstock to 3 x 3.75 panels. The Essentials by Ellen Jammin’ Stamp set was all I needed. I stamped three different images along with a punny sentiment with Honey Bee Stamps’ Intense Black ink, which works well with water. I used the Sketchmarker’s Aqua Watercolor Markers to color in my images quickly. I placed color down where I wanted the darkest/shaded area to be and used a damp watercolor brush to pull out my colors. It was super easy to use and creates dimension so easily!

TIP: Be sure to use very little water on your watercolor brush so it doesn’t oversaturate your pigment.
STEP 3:
Using the Essentials by Ellen, Essential Hearts die set I cut out the three smaller heart dies with colored cardstock that matches my background panels. The hearts cut out the heart outline AND you also get the heart interior!

TIP: Die cut as your desired number of shapes at once to minimize the passes through your die cut machine. I ran three hearts at the same time and got 6 total hearts in just one pass!
STEP 4:
Put them together! I first glued my smaller panel slanted on my background panel, and then I added the hearts on the corner to finish off the cards. I love that I ended up with 3 cards and they are super duper cute!
SUPPLIES:


No Comments