
We’re thrilled to welcome guest designer Jill Hawkins back to the blog! Today, she’s sharing how she was inspired to create a clean and simple card, featuring several items from our latest release.
Plus! Don’t miss the BONUS project she shares that’s a perfect addition to your Easter baskets, featuring our adorable Sew Cute Bunny!
Hello Creative Friends! Jill Hawkins here on the last day of March (!) and excited to share some cuteness from Ellen Hutson–what a fun Easter treat!
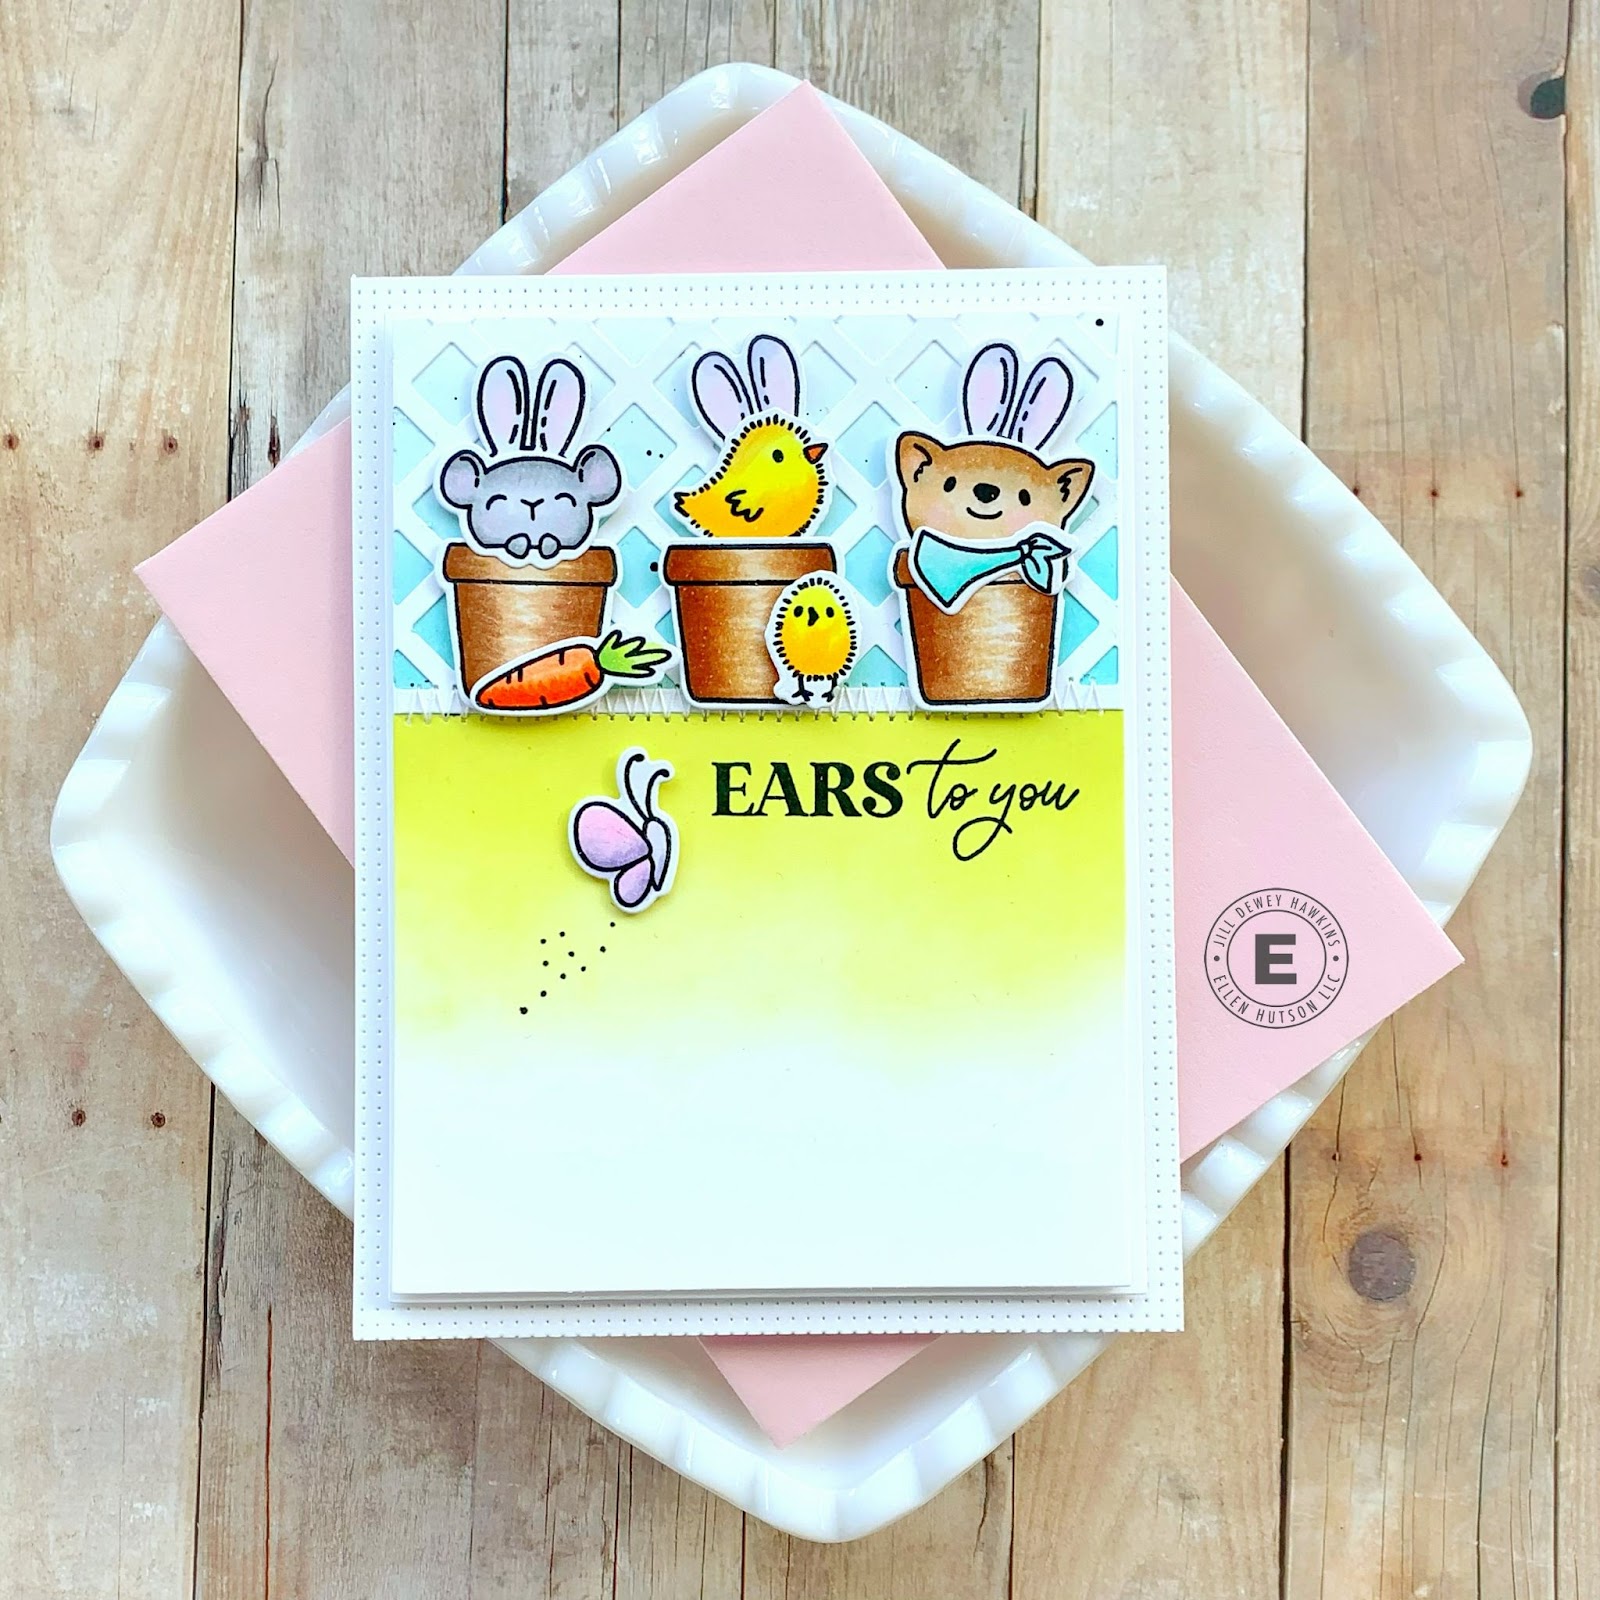
Let’s get right to it. First up, I wanted to use the uber cute Sweet Spring by Vera Kuprik set. When there are several small images in a set, I like to get out my MISTI and stamp all of the images a couple times. I don’t usually use everything, but I have choices and the others are ready for the next card–and I’m always happy to find those ready to color! (I tuck them in the sleeve to store with the stamps/dies.)
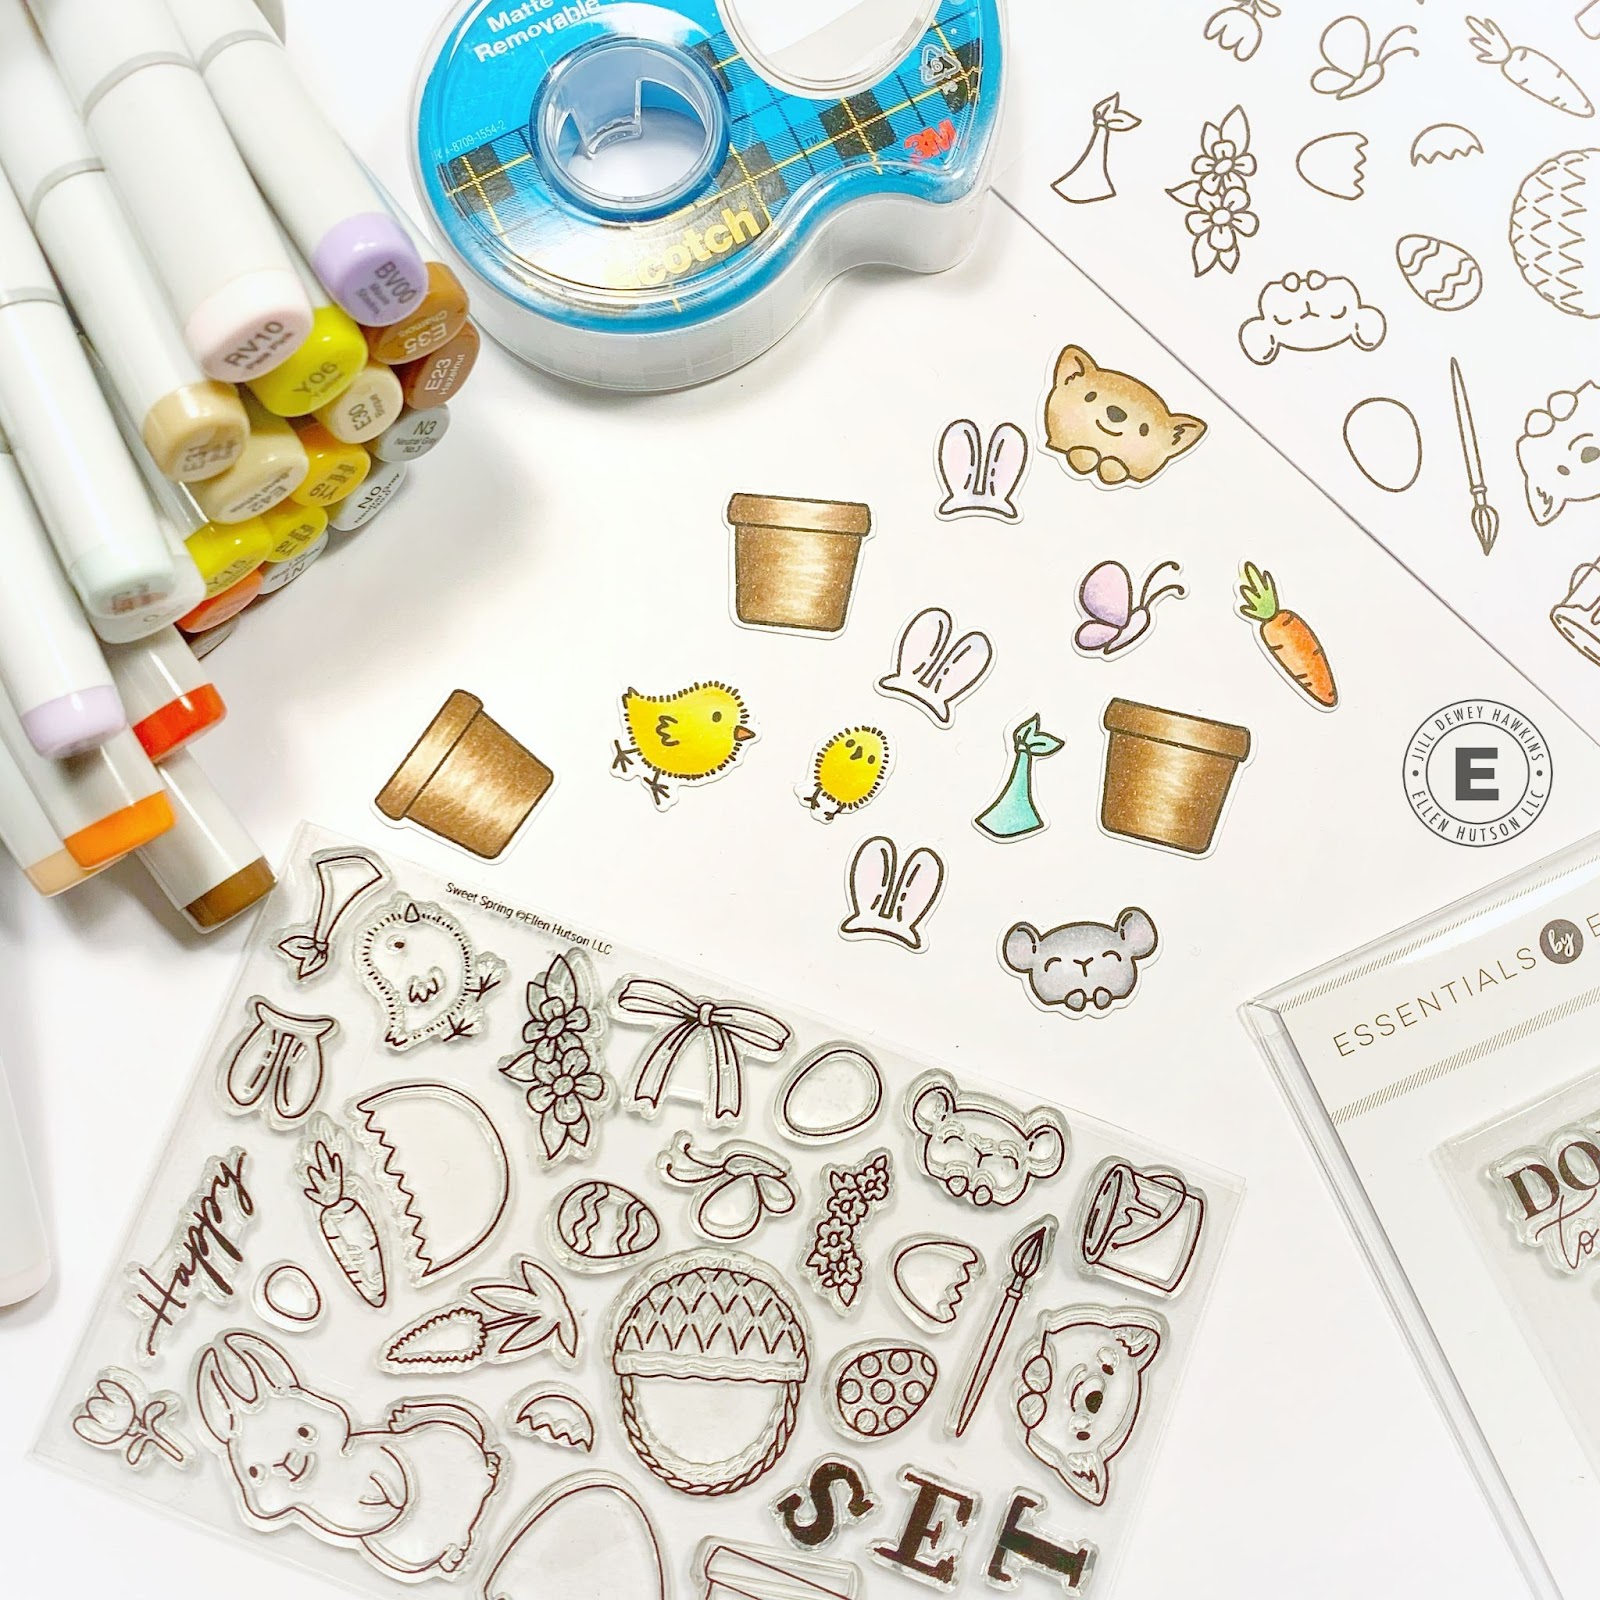
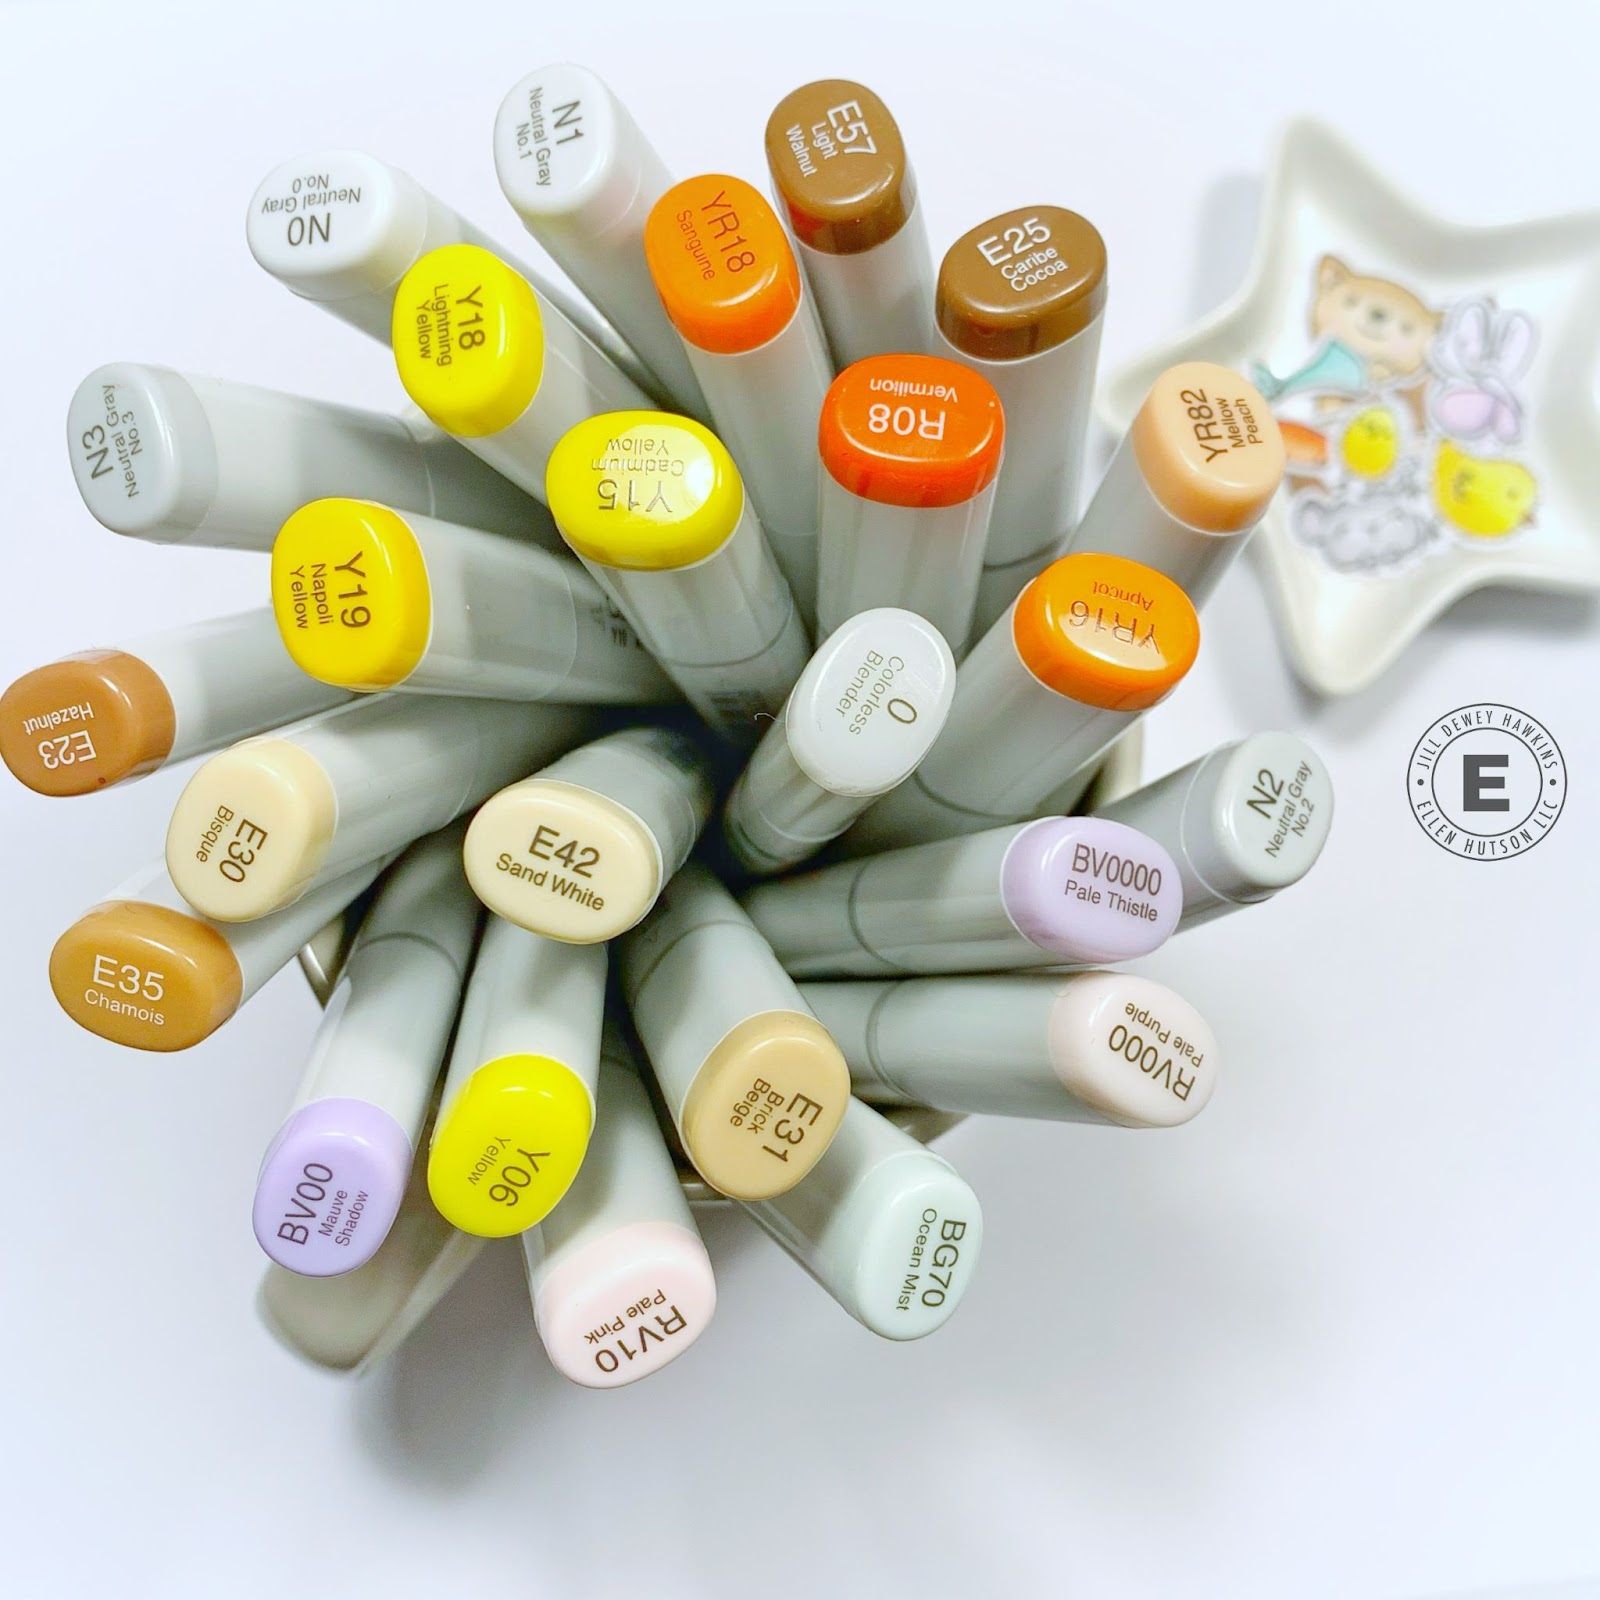
I decided I needed to use these peeking critters and the chicks! They are TOO cute! 🙂 I colored them with Copic markers and then die cut them out with the coordinating dies.
Next up, I had to think through the layout of my card. I typically like to keep things clean and “simple” (…even though I think we can all agree that landing on a simple design isn’t always really simple 😂). I also knew I wanted to use the new Lattice Background, so I decided to mask off two areas and used Distress Oxide Inks to blend on some ink. I usually use Post-Its or Post-It tape to mask.
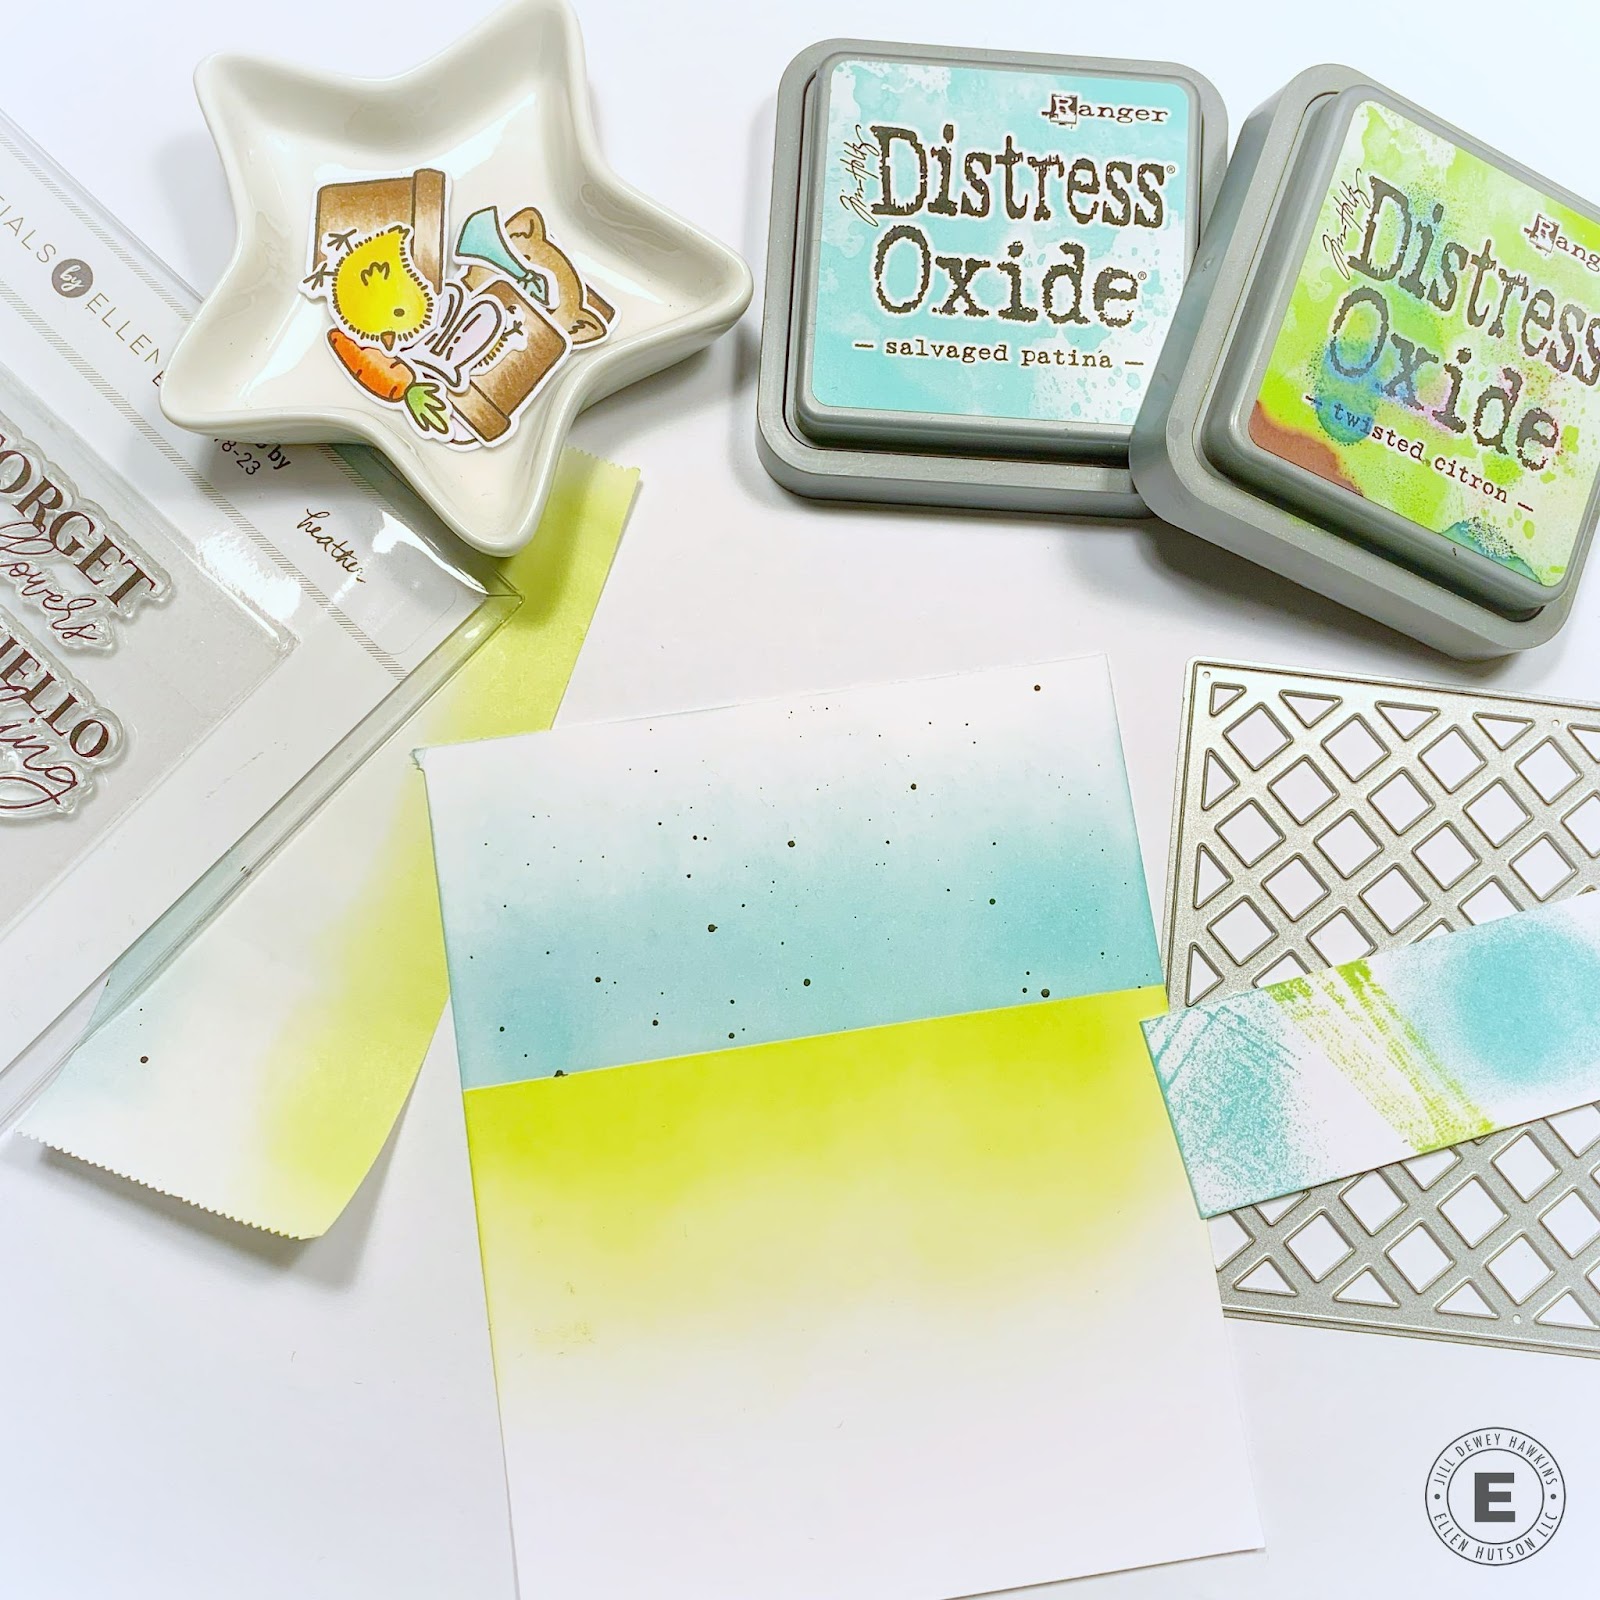
You can see my little scrap there on the right– I like to press the inks out to see if I am going to actually like them together before I blend the ink on my panel. I used Salvaged Patina and Twisted Citron <–as you can see, my Twisted Citron is well loved! 🙂
Once I got that all squared up, I added the Lattice Background on and then stamped my sentiment from the Ears to You set. I always try and stamp my sentiment on before adding everything else, just in case there is a crooked snafu.
I trimmed the panel out, added some stitching, and finished it with a white backer panel, giving it a slight frame. Lastly, I used the A2 Piercing Plate to add some texture to my card base, mounting everything on it with foam tape. Gah–cute cute!
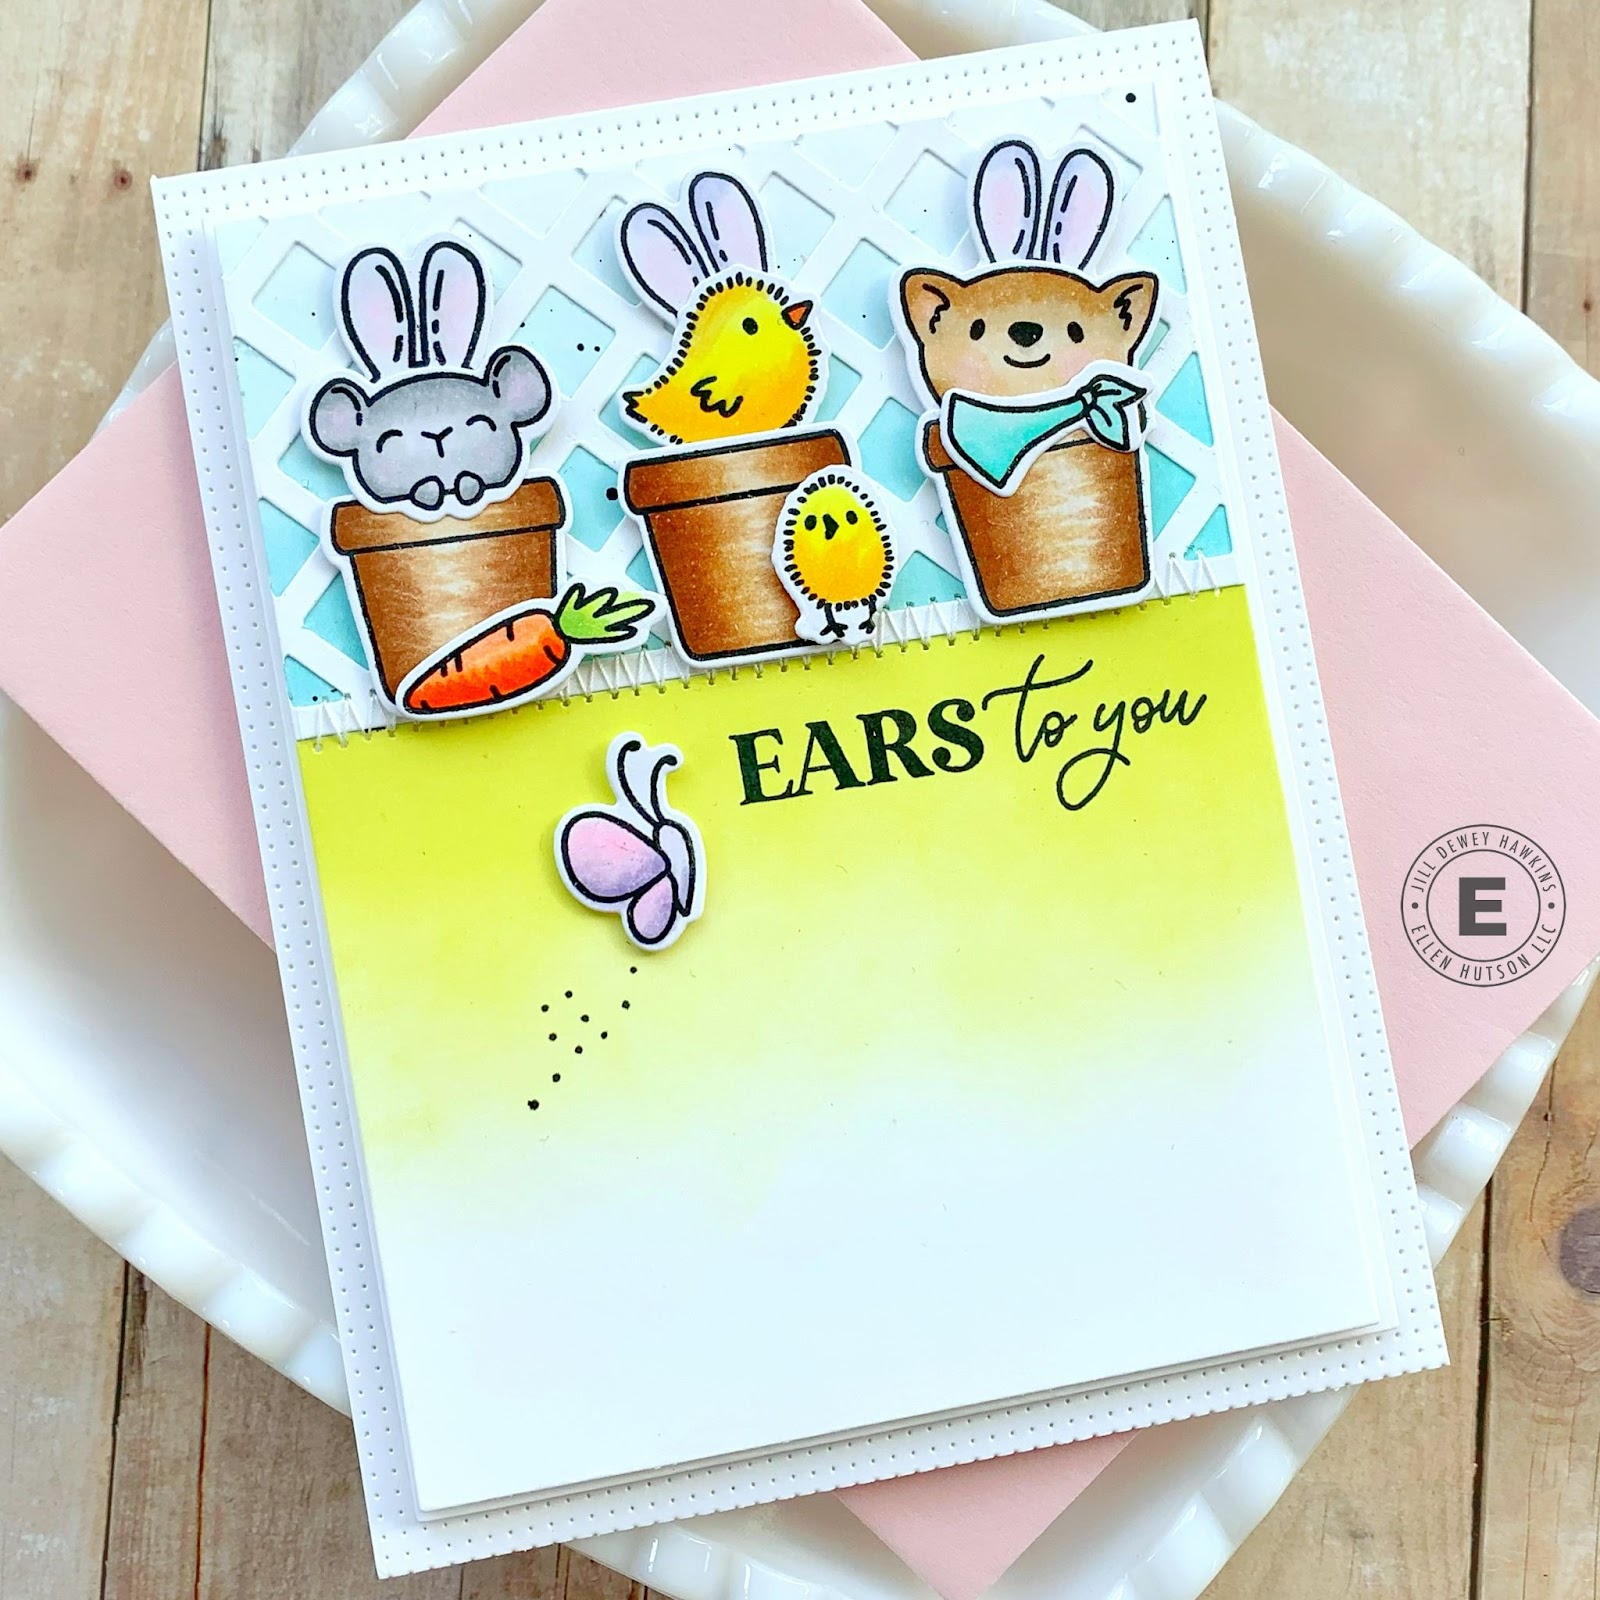
I can’t even with those adorable little bunny ears–they ALL needed them. Which made it easy to choose my sentiment–Ears to You! 🙂
Lastly, I couldn’t resist cutting out some of the Sew Cute Bunny Essentials from felt and stitching those up. I am planning to make a couple shaped Spring cards using the solid Sew Cute bunny–love this set!
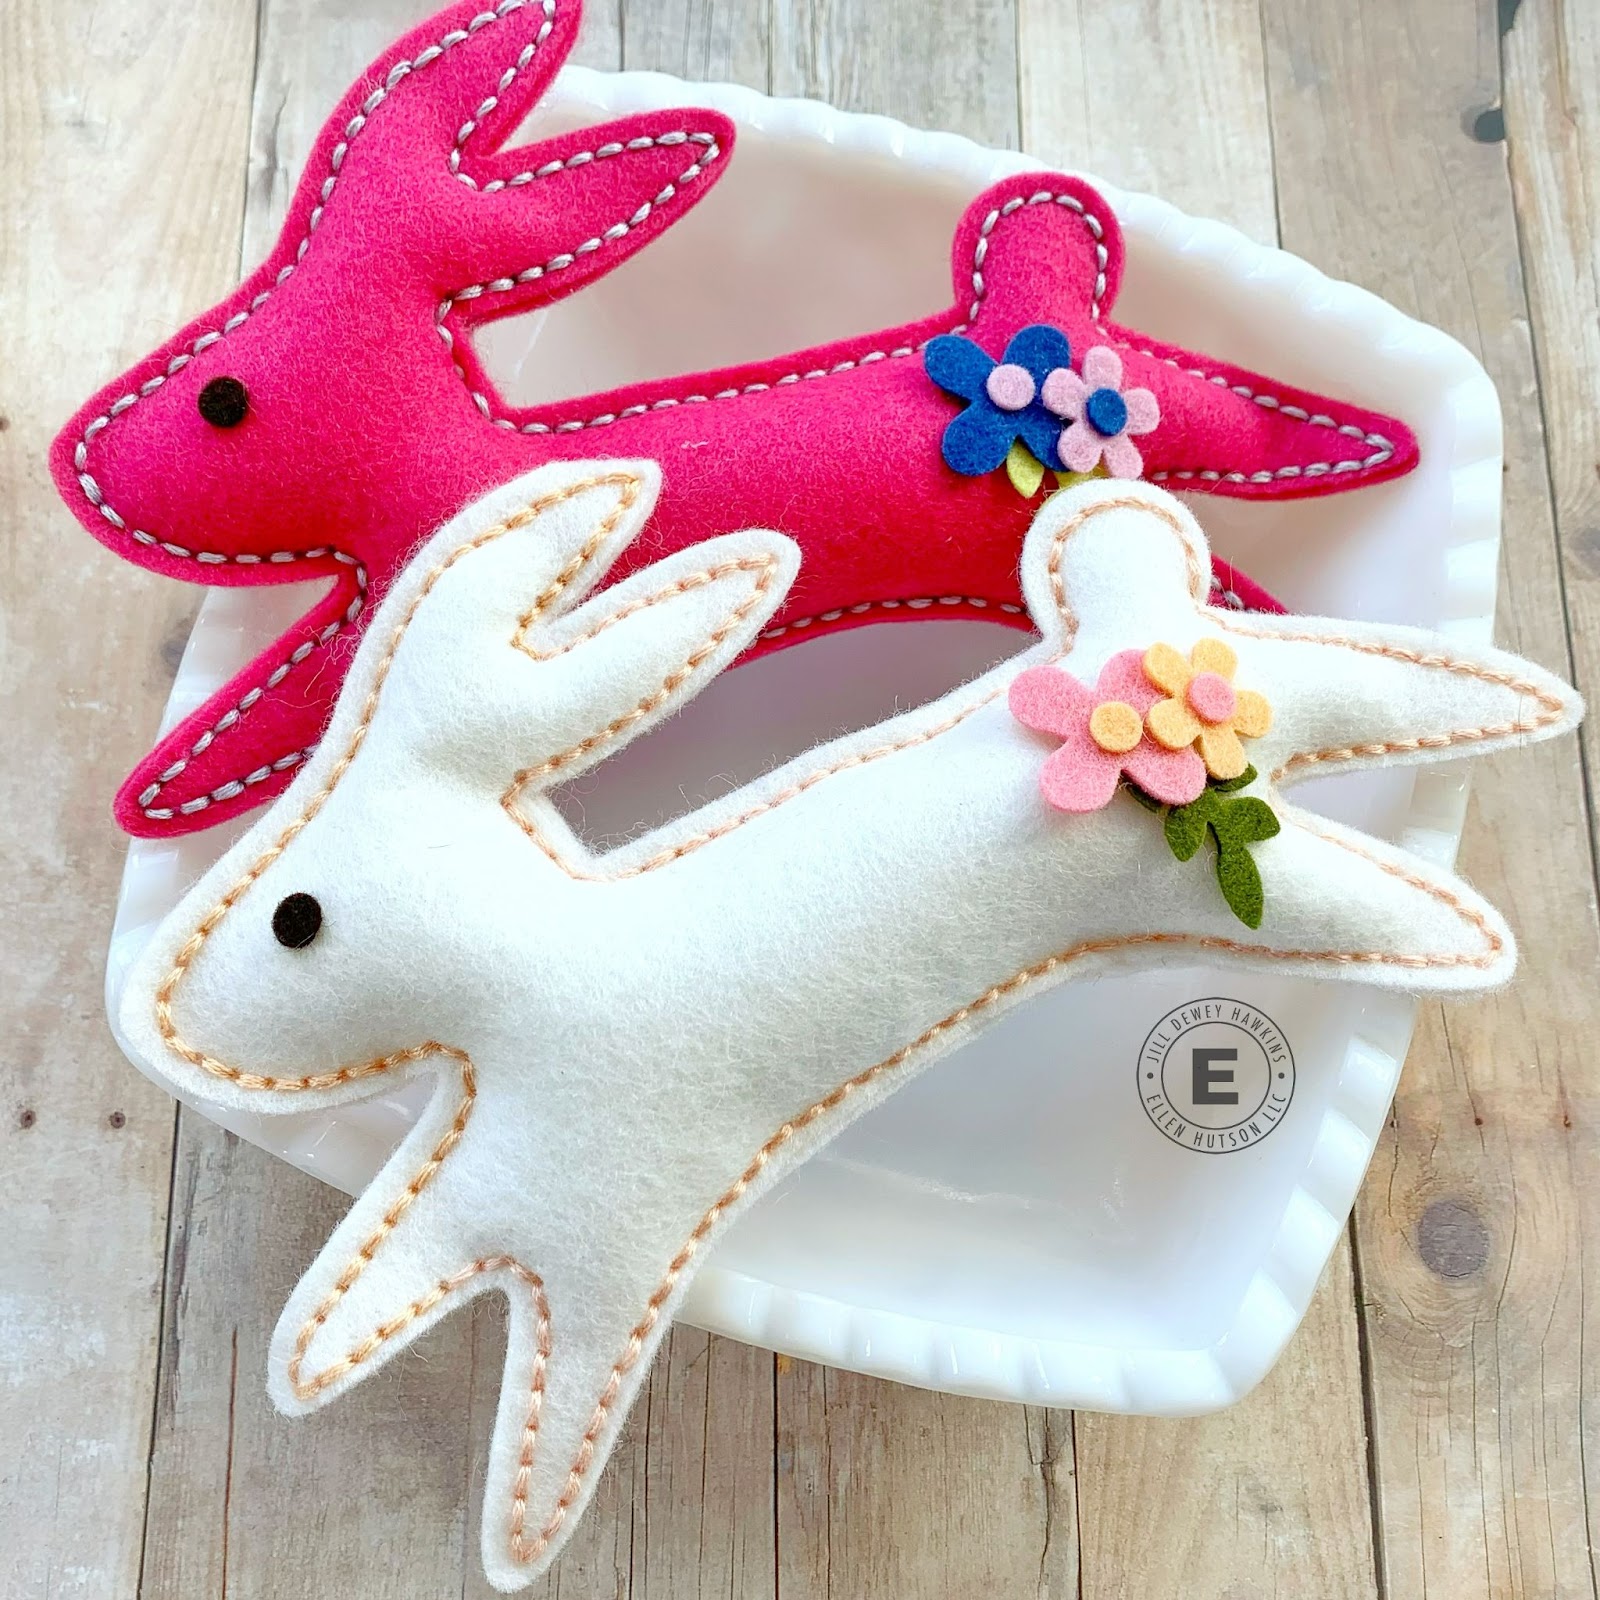
Even all the little flowers and leaf sprigs can be used solo for cards–I’m excited about these!
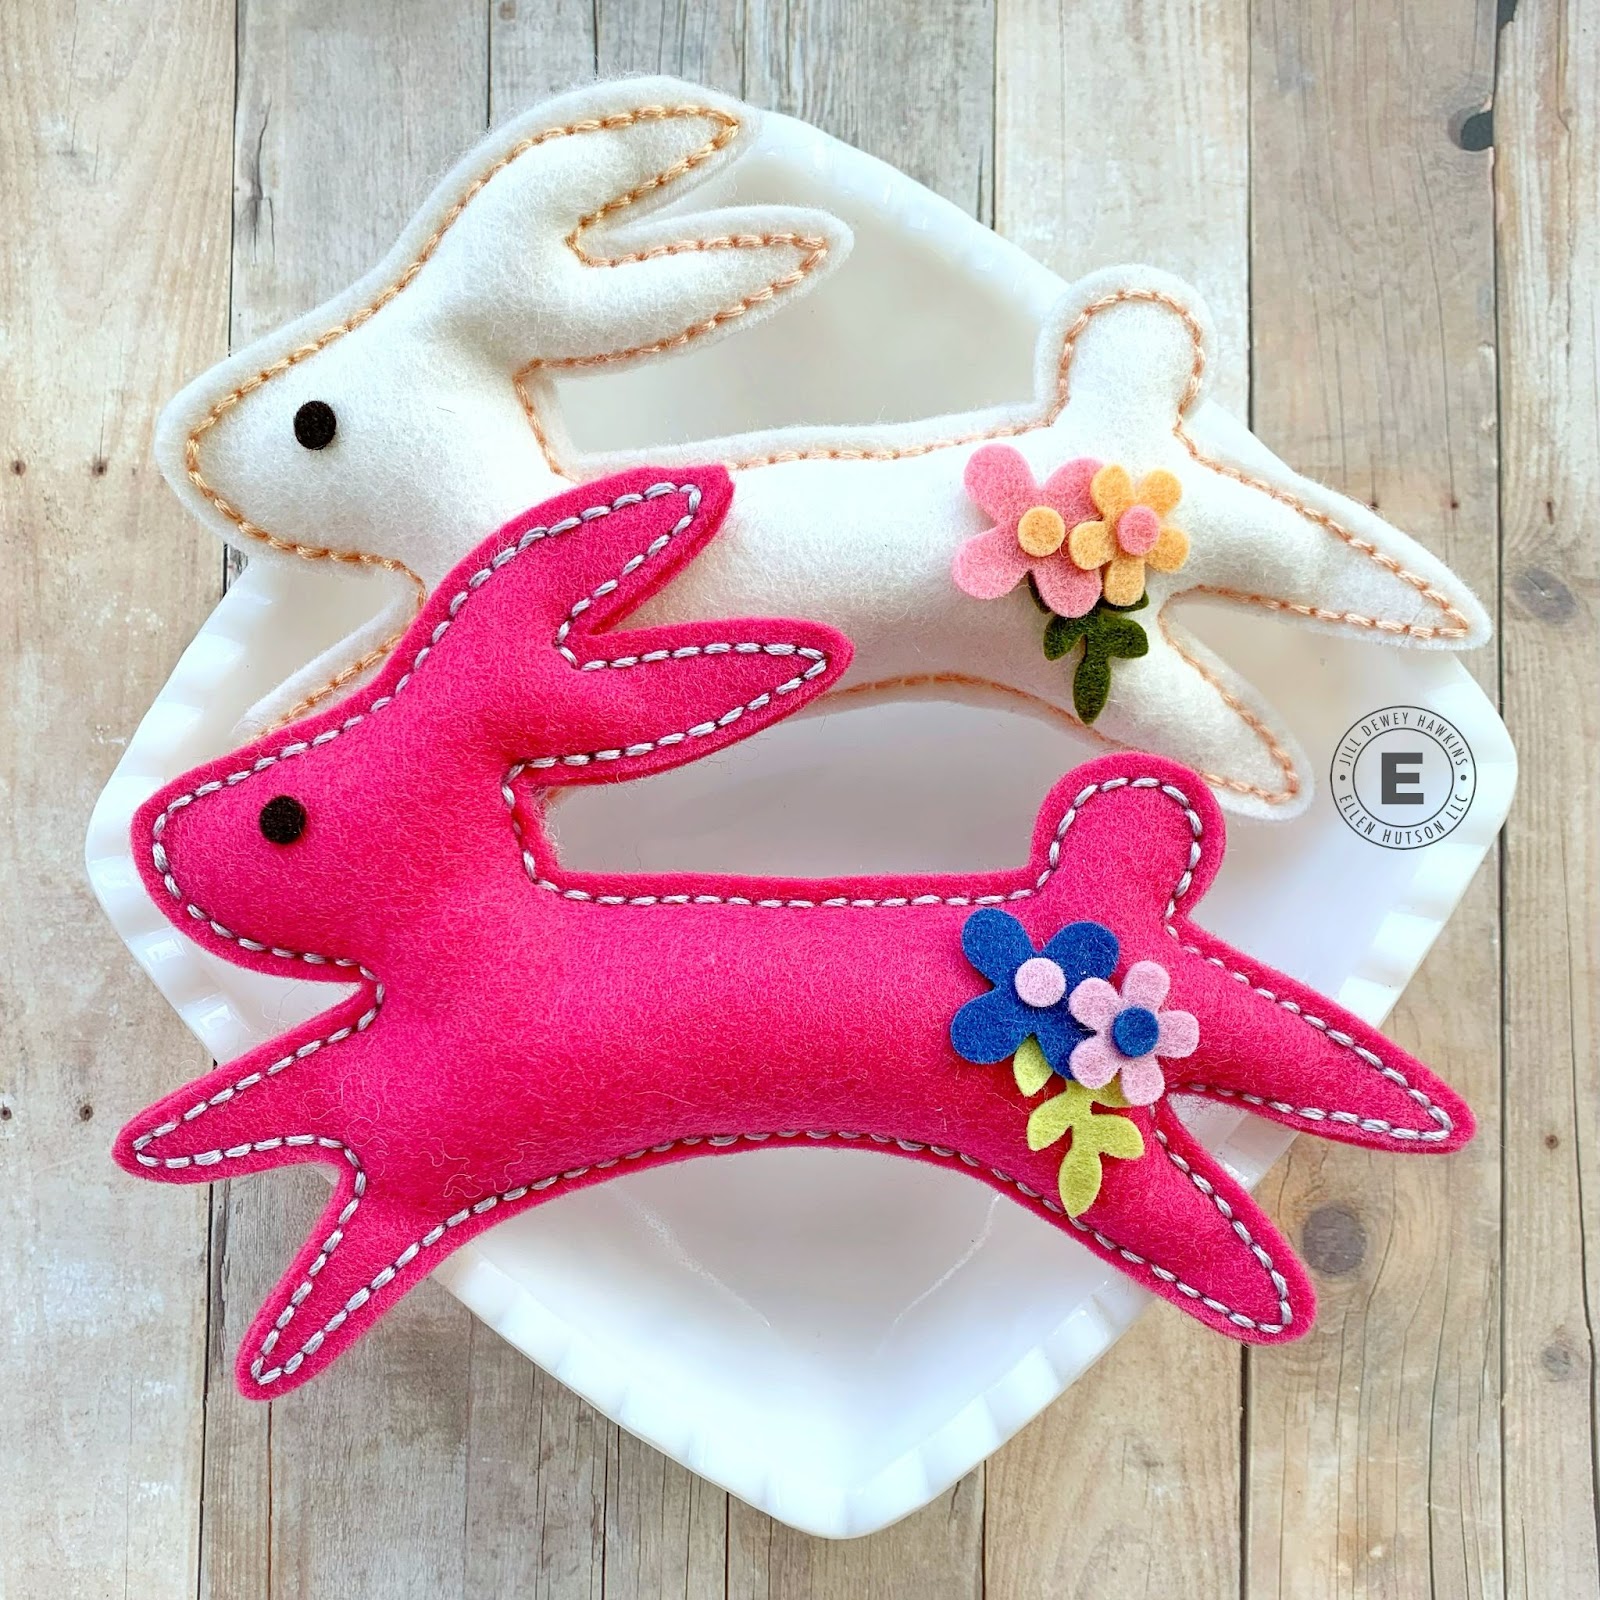
These little bunnies are going to be the highlight in my Easter treat baskets this year!
Thank you all for spending a few minutes with me today and thank you to the Ellen Hutson team for having me along to share. I look forward to your releases–I always love what you create for us to create with! 💛
Take care all-
Jill 🙂
Supply List:


1 Comment
It’s a wonderful place organized and I like to read the paper. Your blog is surely super also, you own a superior workforce in your own webpage. Taweez