
Are you looking for an easy DIY décor project for spring? Well Carly is here with an easy felt garland perfect for spring & Easter!
Shop Essentials by Ellen stamps, dies, and hot foil sets on Amazon!

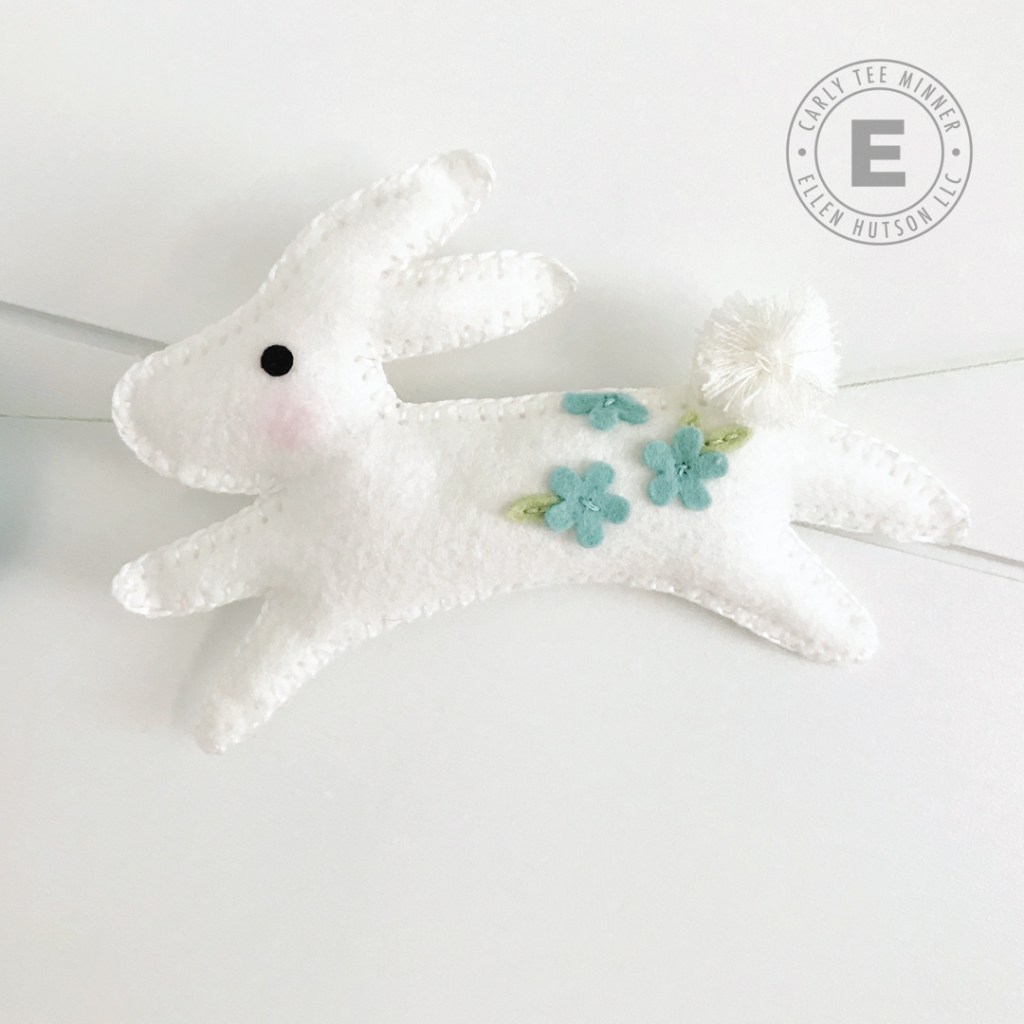
Have you played with any of the Essentials by Ellen stitching dies? They are so fun and perfect for us papercrafters that want to dip our toes in into stitching & creating with felt!
Here’s a quick process video for how I used the Essentials by Ellen Sew Cute Bunny to create an Easter garland…
Tips & Tricks
- When using low-tack tape while die cutting shapes, make sure to keep tape on edges so felt shape isn’t damaged.
- Add all your details before sewing bunnies (and eggs together).
- Stuff as you stitch to make it easier to stuff small spaces like legs & ears.
- Consider making felt stickers by applying felt to sheet of doubled sided adhesive before die cutting. Instant sticker!
- Don’t have the right color felt or floss on hand? Use alcohol markers to color what you need.
- Add extra details like cheeks with colored pencils or alcohol markers.
- The pre-punched holes with the Sew Cute dies are also the perfect opportunity for experienced stitchers to try a new stitch.

Supplies:
Essentials by Ellen Sew Cute – Bunny
Essentials by Ellen Essential Eggs Die Set
Essentials by Ellen Essential Eggs for Stitching Die Set


2 Comments
So charming, Carly! I love that you used a blanket stitch around the edges–gives it a more finished look!
Super sweet!!